Office Space - Part 1
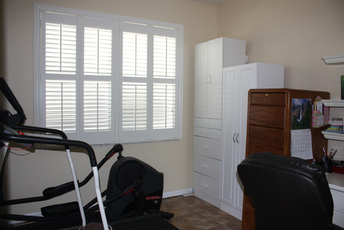 Before: the previous owner's office.
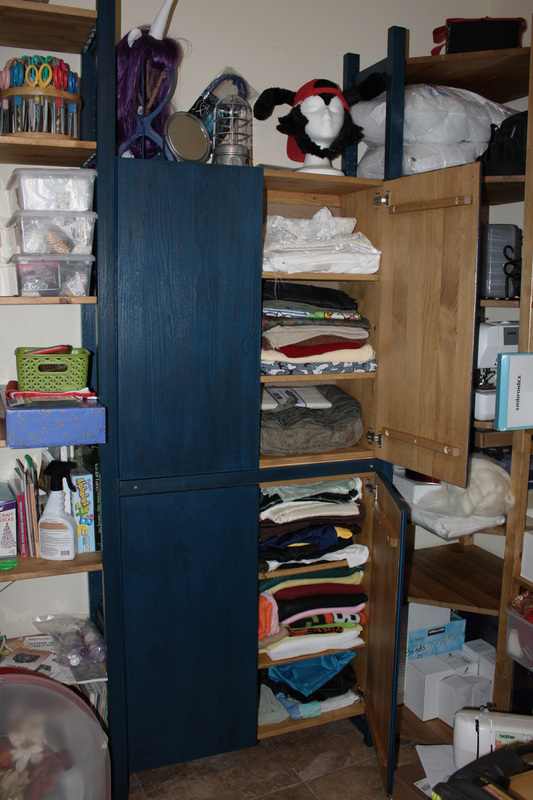
When we moved into our new house, I got one of the things I've always wanted: an office. With doors and everything! A creative space that is all mine to indulge in whimsy and get creative in. The space was perfect. Tall ceilings, shaded windows for natural light without monitor glare, doors. Did I mention that there are doors to my office? After years of sharing a space with the kids' playroom, this is a dream come true!
So what's the first thing a creative girl needs? Storage, of course! We had spent the last couple of years preparing our old house for the market and putting money into renovating the kitchen, new carpets, appliances, etc. Then we moved 900 miles south with two kids, a dog, and ten years of accumulated stuff that managed to survive the yard sale purge. After all that, our budget for new furniture was pretty tight. When I need something on a budget, my first thought is usually, "Can I build it mysefl?" I could easily manage some basic shelves, but my plan was to surround this room completely. And knowing myself like I do, the solution had to be at least a little bit modular for those times when I was going to take it all apart and reorganize everything.
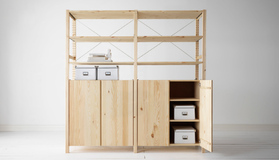 IKEA's Ivar system is so wonderfully versatile.
What I needed was a place that would sell me the pieces so I could customize to my heart's content. IKEA! Man, I love this place. I ended up choosing the Ivar system. The side rails are drilled with holes along their full length to allow the placement of shelves, drawers, or cabinets pretty much anywhere they're needed. They come in two different heights and depths. I went for the tall and narrow: 89" tall, 12" deep.
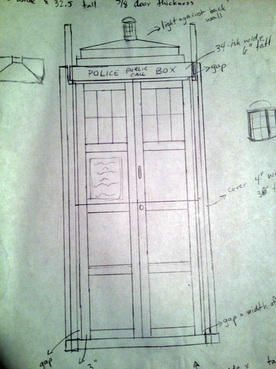
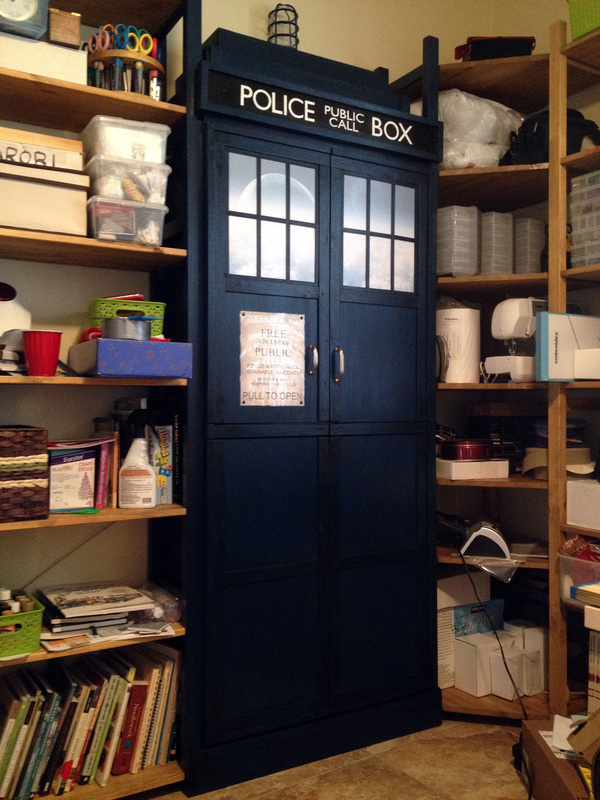
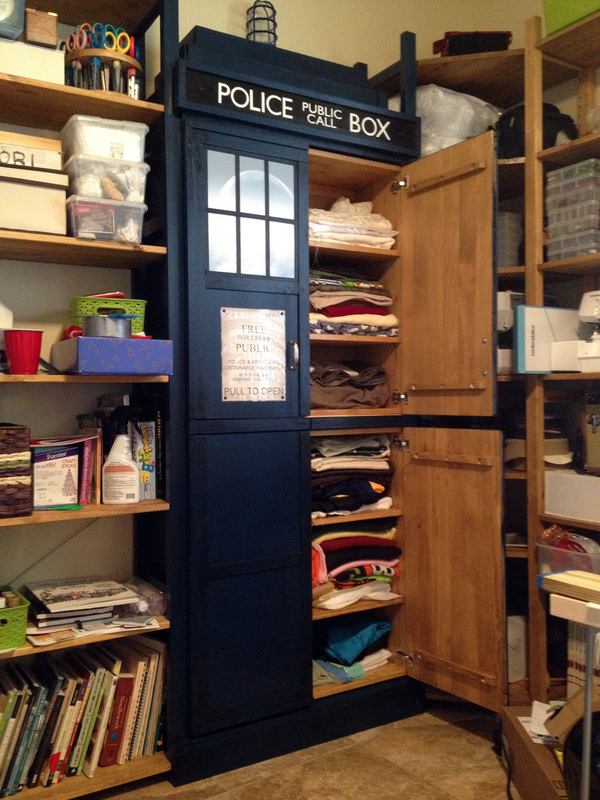
I started by mapping out a corner section where the fewest boxes were stacked. One of the required components was a cabinet for fabric. Something with doors to keep the dust out. I have a lot of fabric, so two of the Ivar cabinets stacked in one of the shelf units would do nicely. And also presents me with an opportunity to do something fun in my office. I started sketching an idea.
I started by mapping out a corner section where the fewest boxes were stacked. One of the required components was a cabinet for fabric. Something with doors to keep the dust out. I have a lot of fabric, so two of the Ivar cabinets stacked in one of the shelf units would do nicely. And also presents me with an opportunity to do something fun in my office. I started sketching an idea.
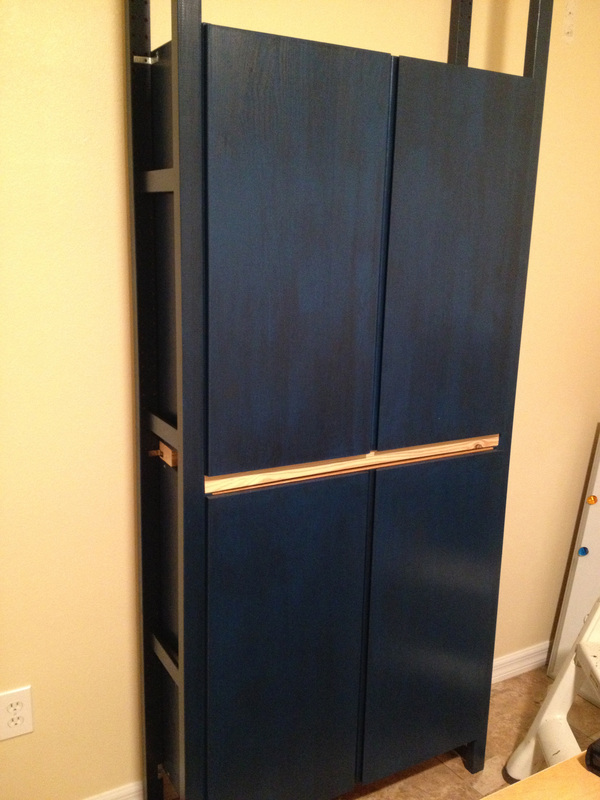
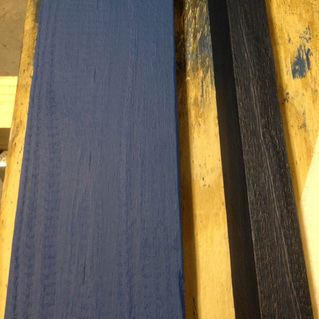 Before: lovely blue. After: ebony stained.
I perused the paint chips at Lowe's for just the right color and had them mix up a quart of Olympic interior latex, flat. A bright, lovely blue, that I stained and soiled with a half-pint can of Rustoleum Ebony stain.
I don't remember the color name on the chip that I picked. But the mix code on the label was 101-5, 102-2Y24, 103-16, 113-19. Each piece of the cabinet got two coats of the blue, then a treatment with the ebony stain. Immediately after applying the stain, I wiped off as much as I could with a paper towel. The ebony stain was tricky to work with and horrid to clean.
I don't remember the color name on the chip that I picked. But the mix code on the label was 101-5, 102-2Y24, 103-16, 113-19. Each piece of the cabinet got two coats of the blue, then a treatment with the ebony stain. Immediately after applying the stain, I wiped off as much as I could with a paper towel. The ebony stain was tricky to work with and horrid to clean.
|
After a few hours, I gave it a single coat of polyurethane to seal it. The stain comes off a bit with the poly coat, giving the whole thing a very distressed look that I was rather pleased with.
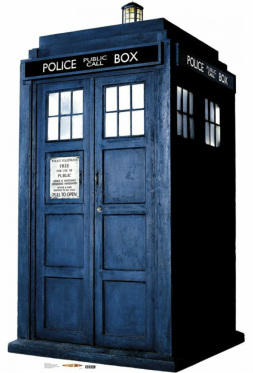
The pins that IKEA provides for mounting the cabinets onto the side rails don't really allow the cabinets to stack without a gap between them. So I put a couple of 2x4s between the stacked cabinets and secured it all with wood glue and screws. Of course, while I was messing around with this, the mountain of boxes in my office weren't going anywhere. So I switched gears for a bit to stain and poly the rest of the shelves that I'd bought. I went with a light Golden Oak (from Minwax) that would highlight the natural tones of the wood without competing with my centerpiece. I didn't take time to really organize much as I unpacked boxes. They just sort of exploded onto the shelves. Once I'd made a dent in the stack, I had more room to move around and switched back to getting the facade on my cabinet. At the hardware store I searched for woods with the right thickness and proportion for my project. My TARDIS was tall, narrow, and shallow. I had to make sure that the pieces I chose helped capture the image that I was trying to reproduce, and not just be a poor reflection. I'm a stickler for detail. Fortunately, the TARDIS is aged and beat up. So I didn't need any high quality wood. In fact, something with some rough character was preferred. I found a whole pack of thin strips used for construction shims that were perfect for the main trim, and a 1/2" square trim for the outside edge. |
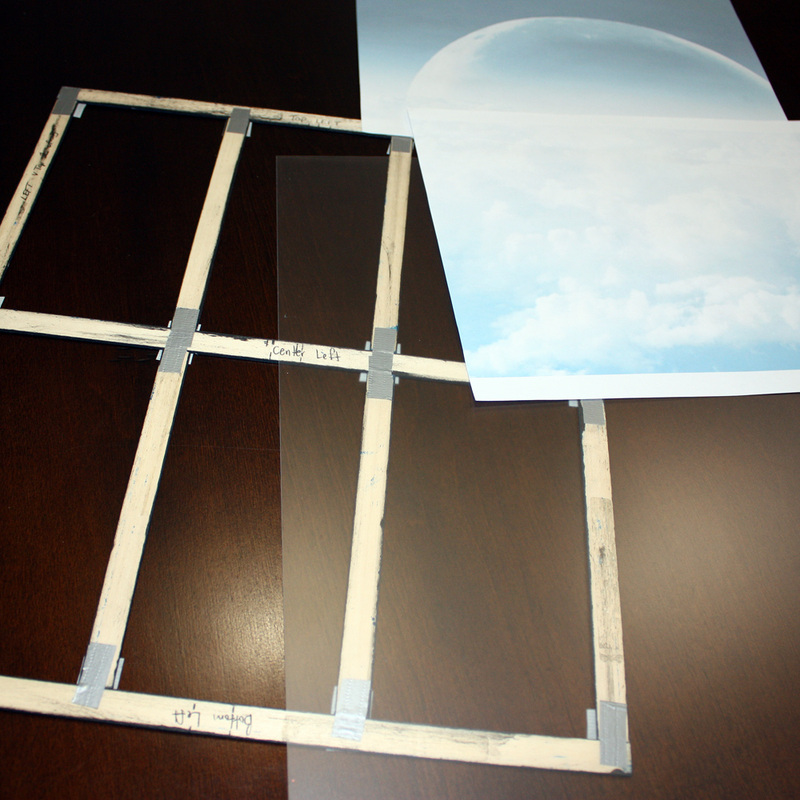
For the trim in the windows, I went to Hobby Lobby for thin basewood strips. While I was there, I found sheets of translucent plastic used for making quilting templates. They were perfect for my windows!
|
I wanted to be able to have a picture in the window that I could change if I wanted to. After all, anything could be through those doors! I custom fit the window frame to fit snugly into the trim space, then glued the plastic sheet to it. A small black ribbon tab lets me pull it out to change the picture.
|
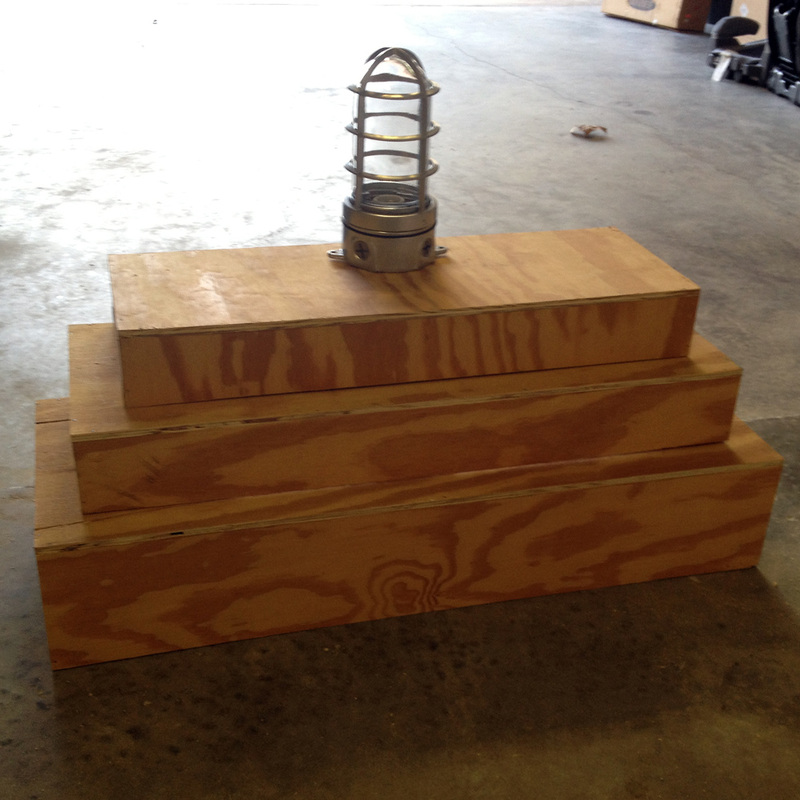
The previous owner left part of a 1/4" sheet of plywood in the garage. I put it to good use in building the top tiers for the TARDIS. The light was a happy find at Lowe's in their contractor aisle. At some point I do plan to wire it to a switch, but for now I'm happy to keep it as a decoration on top of my cabinet.
|
The sign on top. The piece de resistance. It had to be just right. I found the font online and printed the words out on plain old paper. I cut them out and placed them on my wood with double-sided tape. Then I painted over it gently with the black. Once I peeled the paper off, I was left with the letters to paint in white. I used a small brush, a lot of patience, and some painters tape to help me keep the lines crisp.
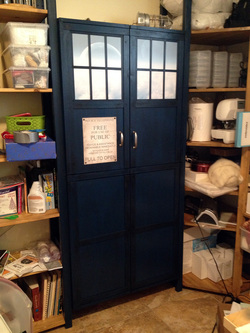
The trim and windows took a couple of days of adjusting and cutting to get them just right. With every piece though, I got more and more excited with how things were coming together.
I found the "Free for use of Public" sign online. Printed and laminated it, then tacked it on with upholstery nails. I really wanted to make a little door here that would open. I might still add that in later. For now, the little handle is enough for me.
I battled with the handles, trying to find something closer to images from the show. Eventually I decided that it was my TARDIS and I could have whatever handles I wanted. So I picked a pair that I liked and called it a day.
The funny thing is that I really enjoy Doctor Who, but I wouldn't classify myself as an uber-fan. I just wanted something fun and geeky to put in my new office. I'm so happy with how it turned out! I love my space!
1/30/2014
1/30/2014
