Plants Vs. Zombies Costume
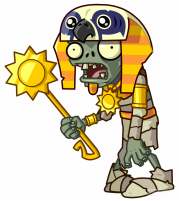 Sun Stealer
My 7-year-old son enjoys video games, especially strategy games. One of his favorites in 2014 was Plants vs. Zombies 2. So it came as no real shock when he asked for a costume from the video game for Halloween. The character he chose is a sun-stealing mummy from the Egyptian world in the game. The helmet piece daunted me a little. But I accepted the challenge as an opportunity to start playing around with EVA foam. Something I've wanted to do for some time (even moreso after watching Heroes of Cosplay episodes).
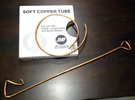
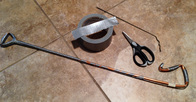
I tackled the wand first. For the handle, I started with some copper tubing that I found a Lowe's. It's soft and easily shaped to make the nifty curvy shape at the bottom. Once I had the shape I wanted, I used a wire coat hanger and some pliers to copy the shape and reinforce the soft copper. The handle was then wrapped in duct tape to secure the two shapes together.
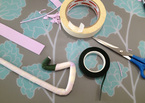
I have the shape I want now, but it's too thin. So I wrapped it in a layer of thin craft foam from Joann's and secured it with masking tape and then a coat of green floral tape. The floral tape has a bit of stretch and movement and helped smooth out some of the turns and corners.
I have the shape I want now, but it's too thin. So I wrapped it in a layer of thin craft foam from Joann's and secured it with masking tape and then a coat of green floral tape. The floral tape has a bit of stretch and movement and helped smooth out some of the turns and corners.
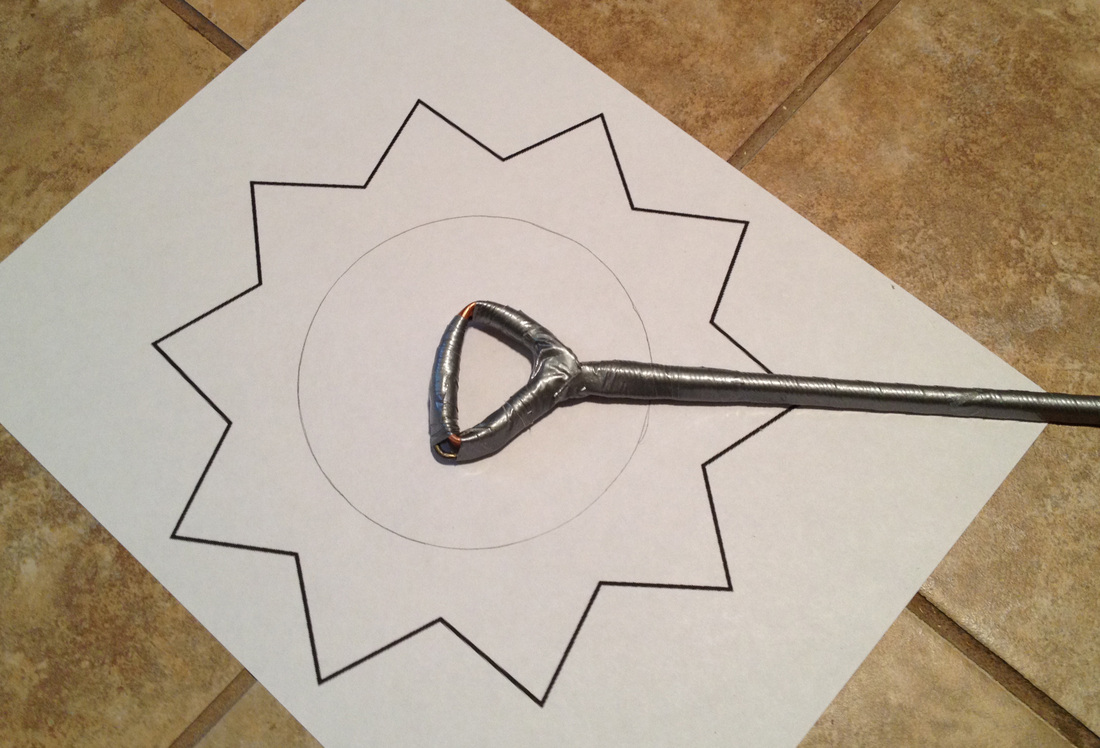
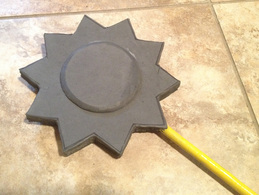
For the head of the staff, I printed out a 10-point star that I found in a Google image search. I cut it out and used it as a template to cut the shape into EVA foam. I found foam in three thicknesses for this project: 1/2", 6mm, and 2mm. I cut three star shapes in the 6mm foam. An important thing to note is the need for a very sharp blade when cutting the foam. I use a carpet blade because I like the handle. My blade was a bit dull though, and my first cuts snagged the foam and made for rough edges. I bought some new blades and a blade sharpener to keep them them keen and my cuts improved dramatically.
In one of the three star shapes, I cut a hole matching the shape of the top of the rod that I made, so that the top could fit inside the star. I then used contact cement to glue a star to either side of it, covering the hole and securing the wand to the star head. Then I cut two circles and used a dremel with a sanding tip to smooth down the edges, and glued them to the outer star layers. When using contact cement, it's best to put on a layer on each side and let it dry for a bit before you stick them together. And keep a lot of disposable brushes on hand.
In one of the three star shapes, I cut a hole matching the shape of the top of the rod that I made, so that the top could fit inside the star. I then used contact cement to glue a star to either side of it, covering the hole and securing the wand to the star head. Then I cut two circles and used a dremel with a sanding tip to smooth down the edges, and glued them to the outer star layers. When using contact cement, it's best to put on a layer on each side and let it dry for a bit before you stick them together. And keep a lot of disposable brushes on hand.
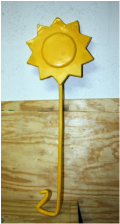
I used a spray paint with primer in it, hoping to skip some steps. However, I found that the foam absorbs a lot of paint, and it took many coats to get the yellow color that I wanted. And once I had it, the many layers were tacky and prone to stick to things when left the sit for any period of time. I coated it in clear sealer and the tackiness problem was solved.
My first foam piece was complete! It's a little rough around the edges. Fortunately, the costume was for a character that is also rough around the edges. My 7-year-old was giddy with the results. And that was the main goal.
My first foam piece was complete! It's a little rough around the edges. Fortunately, the costume was for a character that is also rough around the edges. My 7-year-old was giddy with the results. And that was the main goal.
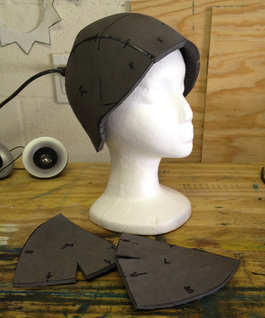
With the wand done, it was time to tackle the helmet. I did some research online and found a lot of great tips and tricks for making foam helmets. The best of which was from Evil Ted: https://www.youtube.com/watch?v=ODSNPYdvJRo. I wrapped my son's head in aluminum foil and duct tape and drafted a pattern of his head with a marker. He was highly entertained by this process.
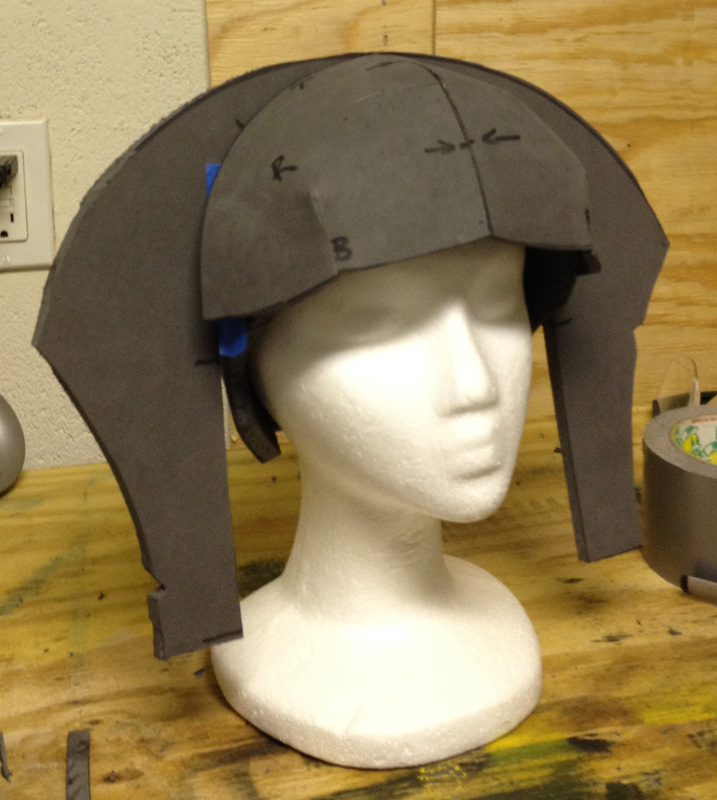
I used the 1/2" foam for the base helmet. I then used this as a frame to model the front piece that would jut out over my son's forehead, and then cut the side pieces. I used the 6mm foam for these lighter pieces.
I used the 1/2" foam for the base helmet. I then used this as a frame to model the front piece that would jut out over my son's forehead, and then cut the side pieces. I used the 6mm foam for these lighter pieces.
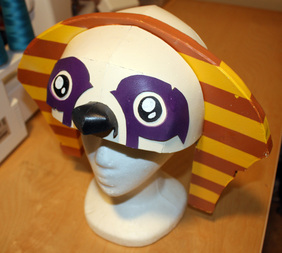
One of the things I learned with the staff is that applying paint directly to the foam wasn't terribly effective. I found some suggestions online to use liquid spray rubber called PlastiDip, readily available at the hardware store. I also picked up some proper primer instead of relying on the paint/primer mix. I coated the helmet in PlastiDip, then primer, then an off-white base coat. Using painter's tape and foil to mask areas that I didn't want painted, I applied the stripes to the headdress. Then I cut the eye shapes and nose piece from 2mm foam, applied paint treatments, and cemented them onto the helmet.
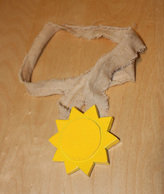
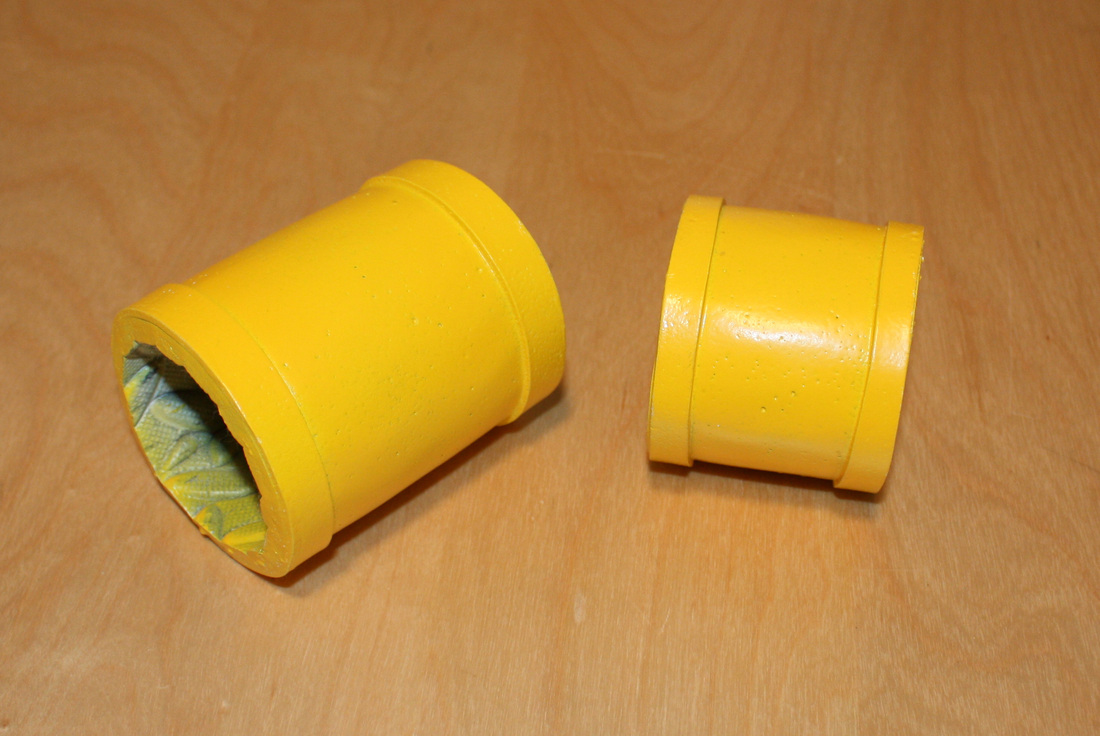
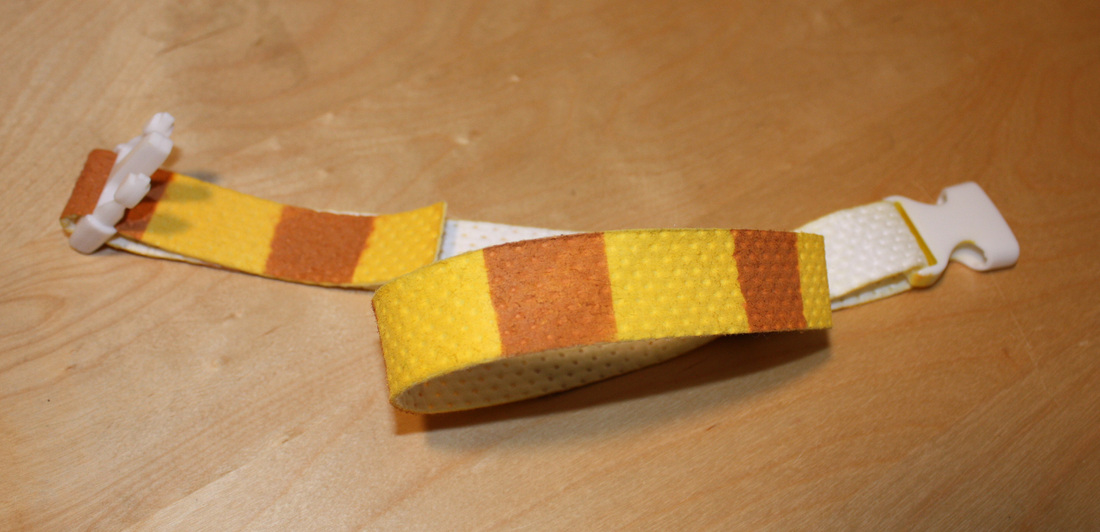
I really needed to get started on sewing the mummy shirt and pants. But there were a few accessories left. So I decided to whip them up really quickly and move on. For the necklace, I used the same technique as the head of the want, only on a smaller scale. Then I shaped a pair of tubes for the wrist cuff and arm band, adding a thin strip of 2mm foam to the edges for detail. The belt is a strap and buckle recycled from my son's arm sling (his cast came off 3 days before Halloween) and quickly spray-painted. Adjustable, light-weight, and quick. Perfect!
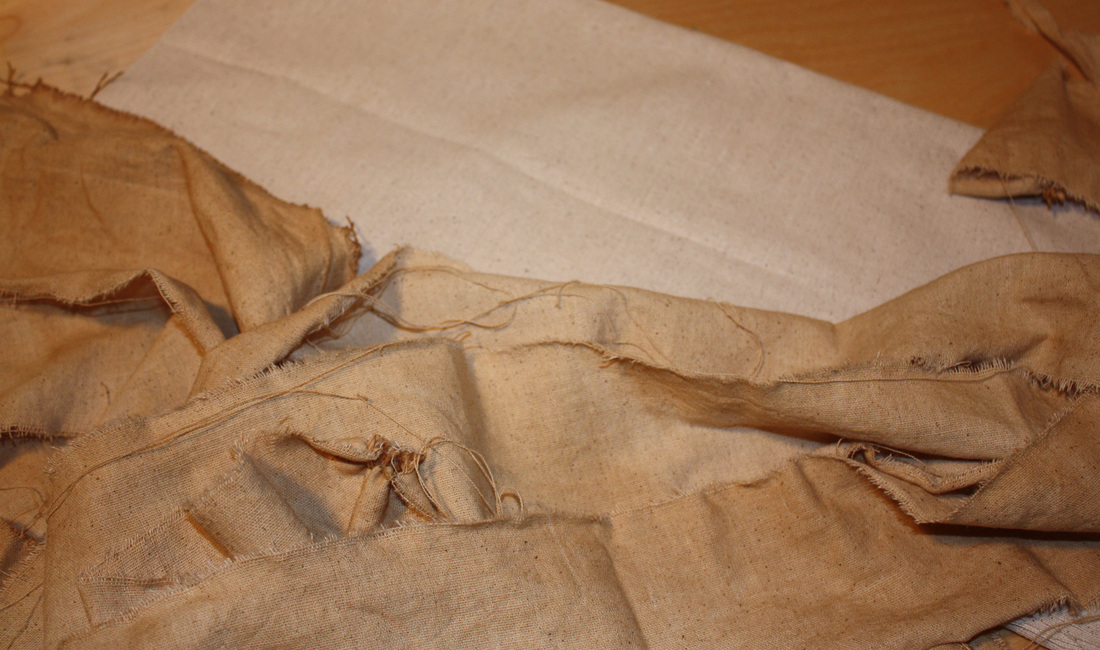
And then on to the sewing! I don't have progress photos of the sewing parts. Sewing is my strong suit, so I tend to zip through it quickly. I had a pile of linen fabric that I wanted to use for the mummy wrappings. In order to get the two-tone aged effect, I stained half of the fabric in a strong batch of coffee. Then I tore the fabric into strips.
I sewed a quick pair of pants out of scrap fabric (I have a lot of random fabric in my cupboard), and then used fusible interfacing to attach the strips to the pants. An old t-shirt got the same treatment. The best part is that the more he wears it, the more tattered and mussed up it looks.
Last Updated: 11/1/2014
